
If your suction pool cleaner isn’t working properly, start by inspecting and cleaning the skimmer and pump baskets for debris, and check the hoses and connections for leaks or cracks. Make sure the cleaner is properly positioned and moves freely. Test for leaks or cracks in the system, and verify that your pump and filter are functioning well. Addressing these common issues can restore performance; keep going to learn more tips for a smooth operation.
Key Takeaways
- Check and clean the skimmer and pump baskets to ensure unobstructed water flow.
- Inspect hoses and fittings for leaks, cracks, or loose connections, and secure or replace as needed.
- Verify the pump and filter are functioning properly, with no clogs or pressure issues.
- Detect air leaks in hoses or cleaner body by listening for hissing sounds or performing bubble tests.
- Ensure brushes, wheels, and moving parts are in good condition and properly positioned for optimal movement.
Checking and Cleaning the Skimmer and Pump Baskets
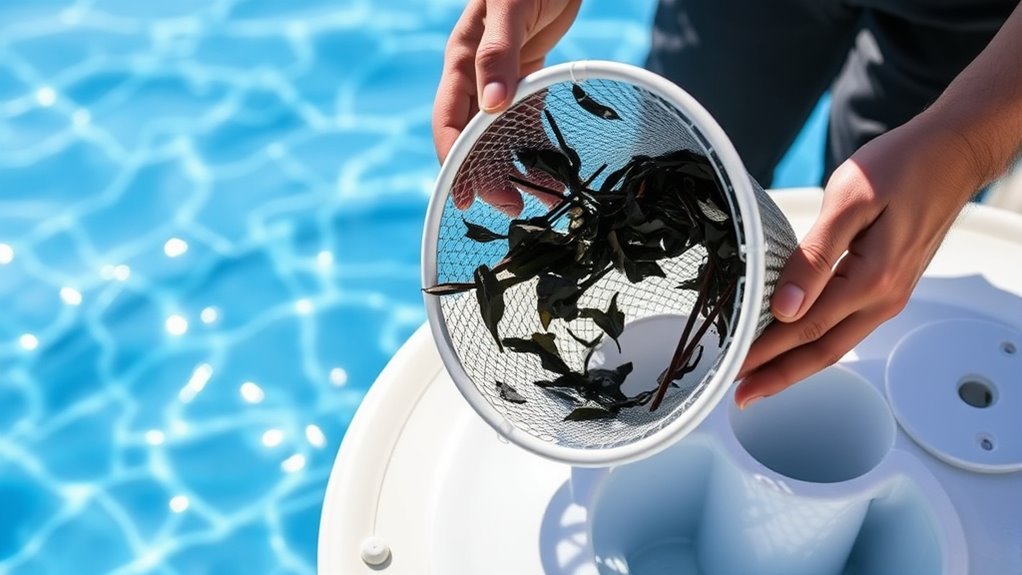
Regularly checking and cleaning your skimmer and pump baskets is essential to keep your pool cleaner functioning properly. The skimmer basket traps leaves, debris, and insects before they reach your pump, preventing clogs and maintaining proper water flow. Similarly, the pump basket catches larger debris that could damage the pump or reduce efficiency. To clean them, turn off your pool’s pump, remove the baskets, and empty their contents. Rinse them with a hose to clear out any stubborn debris. Inspect for cracks or damage, and replace if necessary. Keeping these baskets clean guarantees unobstructed water flow, which helps your pool cleaner operate smoothly and efficiently. Regular maintenance like this prevents bigger issues and extends your pool equipment’s lifespan. Understanding the importance of proper maintenance routines can also help you optimize your pool area’s lighting and overall aesthetic.
Inspecting and Clearing the Pool’s Suction Lines
After cleaning your skimmer and pump baskets, it’s important to check the pool’s suction lines for any blockages or obstructions. These can cause suction line blockages, reducing your cleaner’s effectiveness. Start by inspecting pressure gauge readings; low or inconsistent readings often indicate a clog. Next, follow these steps:
- Turn off the pump and disconnect the suction line to check for debris or obstructions.
- Clear any visible debris with a hose or a long brush.
- Reconnect the line, turn the pump back on, and observe pressure gauge readings for normal operation.
- For ongoing issues, consider inspecting and replacing filtration components to maintain optimal flow and prevent future clogs.
Addressing suction line blockages promptly keeps your pool cleaner functioning properly and maintains ideal pressure levels. Regular checks ensure your pool stays clean and free of obstructions.
Examining the Pool Cleaner’s Hose and Connections

Start by inspecting the hose for any leaks or cracks that could reduce suction. Make sure all connection fittings are tight and secure, preventing air from entering the system. Addressing these simple issues can often restore your pool cleaner’s performance quickly. Additionally, ensuring that the hose and connections are compatible with your specific model can help optimize its functioning properly functioning equipment. Regularly checking the home cleaning tips can also help maintain your pool equipment in good condition for better results. Considering the importance of AI Security in technology, maintaining secure and reliable connections can prevent potential vulnerabilities in your pool cleaning system. Staying informed about emerging automation technologies can further improve the efficiency of your pool maintenance routine.
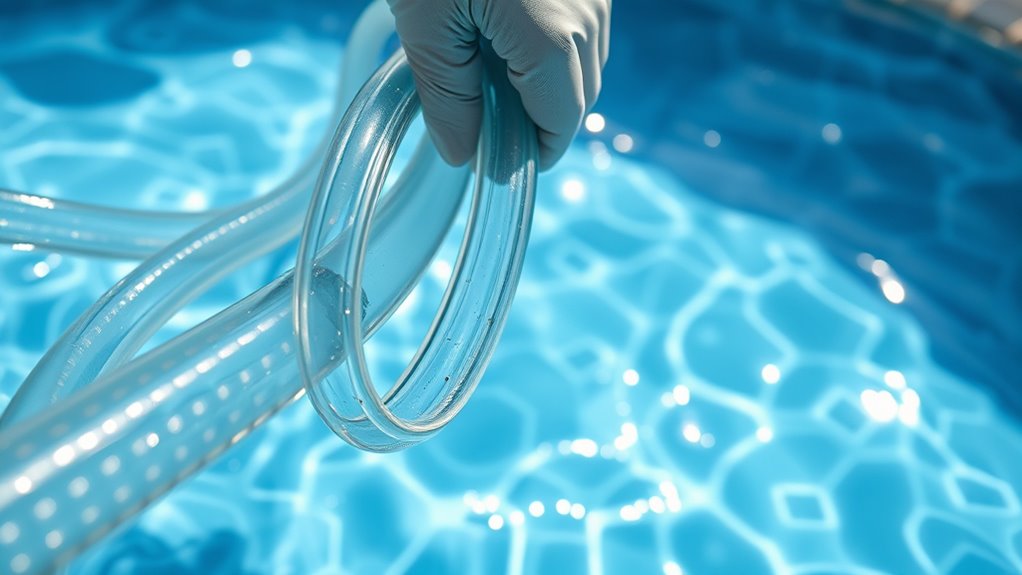
Check Hose for Leaks
Have you noticed your pool cleaner isn’t moving as it should? It could be a leak in the hose. To check, start with these steps:
- Inspect the hose material for cracks, holes, or wear, since damaged material can cause leaks.
- Perform leak detection by submerging the hose in water and watching for bubbles that indicate escaping air.
- Carefully examine all connections and fittings for looseness or damage, ensuring they’re secure and intact.
- Regularly monitoring for air leaks and maintaining the hose can help prevent performance issues and extend your cleaner’s lifespan.
- Ensuring the hose is compatible with your specific Kia Tuning equipment can also prevent potential issues related to fittings and connections.
- Being aware of the environmental impacts of wood-burning practices can help you make more sustainable choices for your pool maintenance and beyond.
If you find any leaks or compromised hose material, replacing the damaged sections or tightening fittings can restore proper suction. Regularly checking for leaks helps prevent performance issues and prolongs your cleaner’s lifespan.
Secure Connection Fittings
Secure connection fittings are essential for maintaining proper suction and ensuring your pool cleaner functions effectively. Check the hose fittings to make sure they’re tight and properly connected. Loose or damaged fittings can cause loss of suction, reducing cleaning efficiency. Inspect each connection for cracks, wear, or corrosion, and replace any faulty parts. Proper connection securement prevents leaks that can hinder the cleaner’s performance. When attaching the hose to the cleaner or skimmer, ensure it clicks into place securely. Avoid forcing fittings, as this can damage the connection. Regularly test the fittings by gently tugging on the hose to confirm they’re firmly connected. Additionally, verifying the integrity of all components helps prevent unnecessary repairs and extends the life of your equipment, especially if you use quality, durable materials. Ensuring proper installation techniques can also contribute to maintaining optimal suction levels and overall cleaner performance. Regular inspection and maintenance of the fittings can identify issues early and keep your pool cleaner operating at peak efficiency. Incorporating sound maintenance practices further ensures the longevity and consistent performance of your equipment.
Ensuring Proper Positioning and Movement of the Cleaner
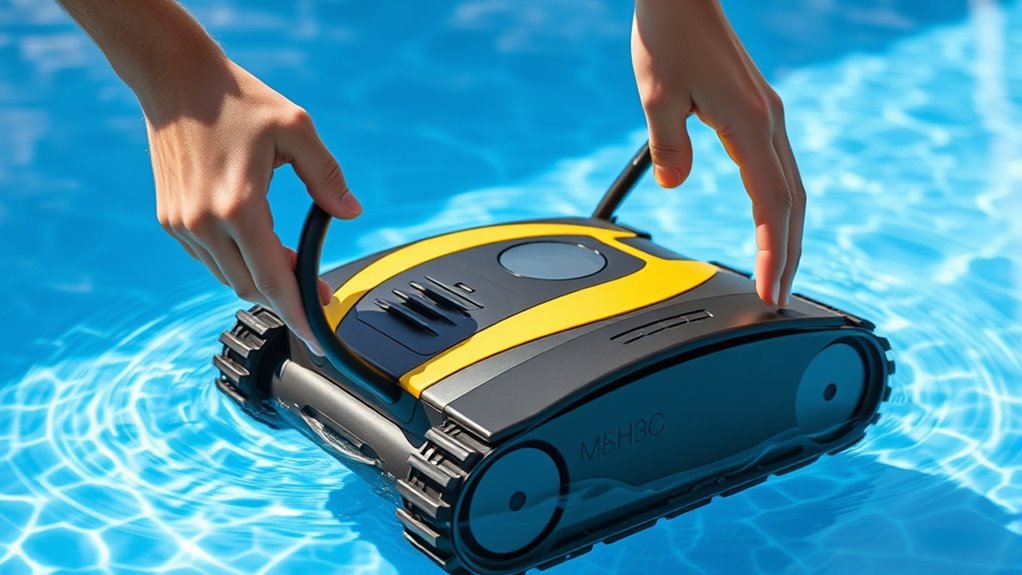
Proper positioning and movement are essential to guarantee your pool cleaner effectively covers the entire pool surface. To achieve this, focus on three key steps:
- Adjust the proper positioning of the cleaner so it’s centered and not tangled, ensuring it can access all areas. Consistent messaging about the cleaner’s placement can help maintain optimal coverage.
- Calibrate movement by checking the hose length and ensuring it’s not too tight or loose, which affects navigation.
- Regularly monitor the cleaner’s path, making sure it’s following a consistent pattern and not getting stuck in corners or around obstacles.
- Ensuring the cleaner’s movement efficiency can help prevent it from missing spots and improve overall cleaning performance. Additionally, periodically inspecting and maintaining the cleaner’s components, such as brushes and wheels, can enhance its performance longevity and ensure smooth operation. Recognizing the importance of proper product quality can also contribute to better cleaning results over time.
Testing for Leaks or Cracks in the System
Since leaks or cracks can substantially impair your pool cleaner’s performance, it’s important to test the system thoroughly. Begin by inspecting the entire suction system, including hoses, fittings, and the cleaner itself, for any visible signs of damage. Use leak detection methods such as applying a soapy water solution around connections and joints—bubbles will form if air is escaping. Feel for any hissing sounds or air leaks during operation. Check for cracks or holes in hoses and the cleaner body that could cause suction loss. Ensuring the system is airtight helps maintain proper suction and cleaning efficiency. Additionally, using a headphone jack can help you detect subtle sounds of leaks that are otherwise hard to notice. Identifying and sealing leaks or cracks early prevents further damage and keeps your pool cleaner functioning *at its best*.
Verifying the Pump and Filter Functionality
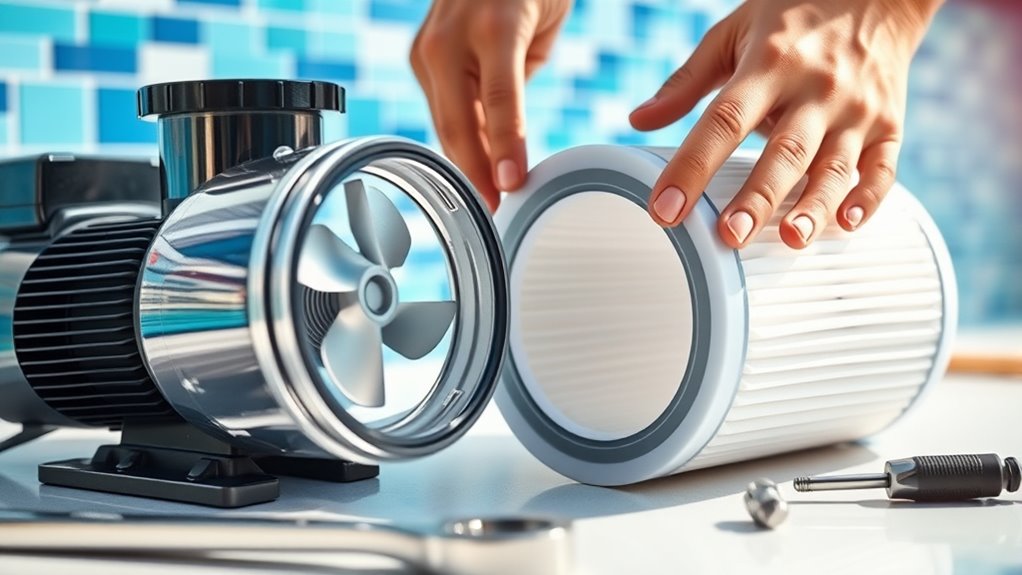
To guarantee your pool cleaner works effectively, you need to verify that the pump and filter are functioning correctly. Start by checking the electrical wiring to assure all connections are secure and there are no signs of damage. Next, examine the filter for clogs or debris that could hinder water flow, impacting pool chemistry balance. Finally, run the pump and observe whether it creates proper suction and circulation. Confirm that the filter pressure gauge reads within the recommended range—if it’s too high or low, it can affect performance. Regularly inspecting these components helps maintain ideal pool chemistry and prevents issues that might cause your cleaner to malfunction. Proper electrical wiring and a clean filter are essential for consistent, efficient operation.
Replacing or Repairing Worn or Damaged Parts
You need to check your pool cleaner for signs of wear or damage that could be affecting performance. Once you identify the worn or broken parts, selecting the right replacements becomes essential. Making sure you choose compatible parts will help keep your cleaner running smoothly.
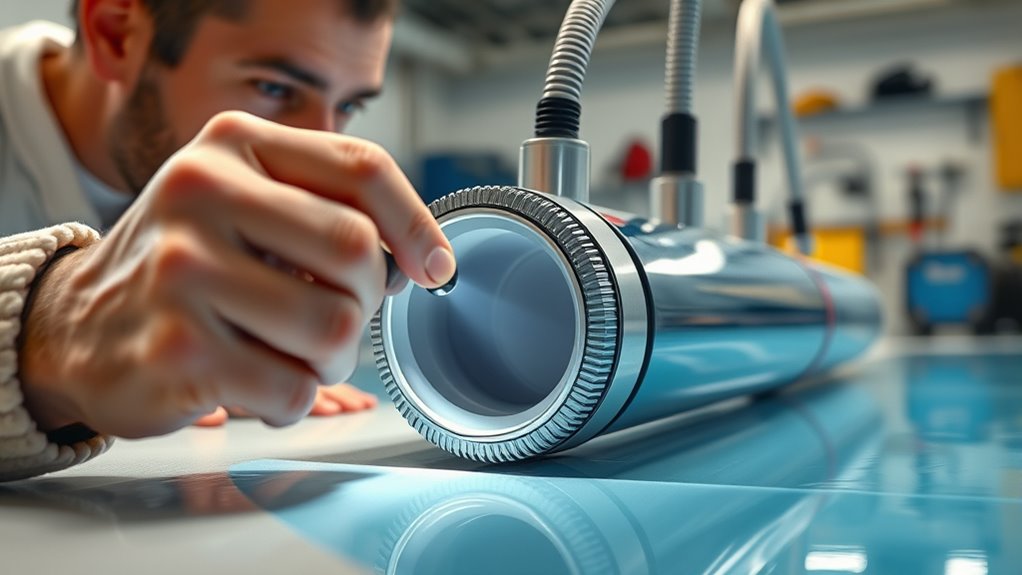
Identifying Wear and Tear
Worn or damaged parts are common causes of pool cleaner malfunctions, so regularly inspecting your device is vital. By analyzing the wear pattern, you can determine whether parts need replacement or repair, helping extend your pool cleaner’s longevity. To identify wear and tear effectively:
- Check brushes and wheels for uneven or excessive wear, which indicates they’re nearing the end of their lifespan.
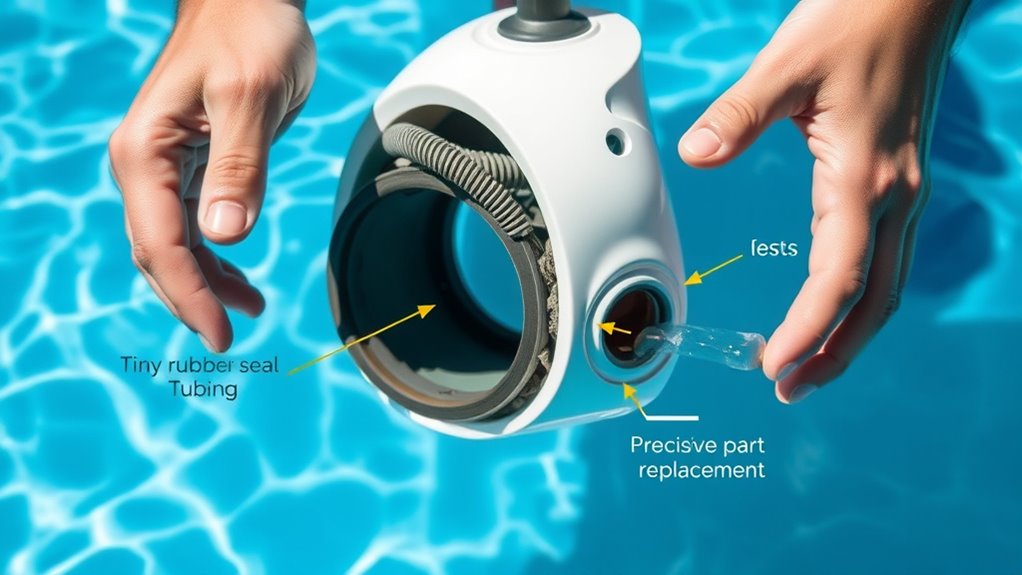
- Inspect hoses and seals for cracks, leaks, or brittleness, signs of deterioration.
- Examine the intake and suction areas for blockages or buildup, revealing underlying wear.
Conducting this wear pattern analysis helps you catch issues early, preventing costly repairs and maintaining peak performance. Consistent inspection ensures your pool cleaner functions efficiently and lasts longer.
Selecting Replacement Parts
When selecting replacement parts for your pool cleaner, choosing the right components guarantees peak performance and longevity. First, focus on choosing compatible parts that fit your specific model, as mismatched components can cause malfunctions. Always source genuine replacements from trusted suppliers or the manufacturer to ensure quality and durability. Avoid generic or imitated parts, which may not meet safety standards or work effectively. Before purchasing, check your cleaner’s manual or serial number to identify the correct parts. Properly installed, high-quality replacements restore your pool cleaner’s efficiency and extend its lifespan. Regularly inspecting and replacing worn or damaged parts with authentic components minimizes future issues and keeps your pool sparkling clean.
Frequently Asked Questions
How Can I Tell if My Pool Cleaner’s Motor Is Malfunctioning?
If you’re wondering whether your pool motor is malfunctioning, start by listening for unusual noises or if it’s not running at all. Check for electrical issues like blown fuses or tripped breakers, which can affect the pool motor’s performance. Also, look for reduced suction or irregular operation. If these signs persist, it’s likely your motor has a problem, and you may need to replace or repair it to get your pool cleaner working smoothly again.
What Should I Do if the Cleaner Is Not Moving at All?
Did you know that over 60% of pool cleaner issues stem from simple problems? If your cleaner isn’t moving at all, start with a manual inspection. Check the hose connection for blockages or leaks, and verify it’s securely attached. Also, inspect the wheels and brushes for debris or damage. Addressing these basic steps often resolves the problem quickly, getting your cleaner back to work efficiently.
Why Is My Pool Cleaner Losing Suction Unexpectedly?
If your pool cleaner loses suction unexpectedly, you should first check the pump pressure to verify it’s within the recommended range. Low pump pressure often causes suction loss. Additionally, inspect for debris buildup in the skimmer, hoses, or filter. Clearing out debris improves water flow and suction. Regular maintenance keeps your cleaner working efficiently, preventing sudden loss of suction and keeping your pool clean.
How Often Should I Replace Parts on My Pool Cleaner?
Ever wonder how often you should replace parts on your pool cleaner? Following a proper maintenance schedule guarantees peak performance and avoids unexpected failures. Typically, replacement intervals depend on usage and wear, but check your manufacturer’s guidelines—common parts like brushes and filters often need replacement every few months. Keep a close eye on signs of deterioration, and don’t delay replacements. Staying proactive guarantees your cleaner runs smoothly when you need it most.
Can Debris From the Pool Affect the Cleaner’s Performance?
Pool debris can definitely affect your cleaner’s performance. When debris accumulates, it can clog the filter, reducing suction power and making your cleaner less effective. Regularly check and clean the filter to prevent clogging, ensuring it runs smoothly. Removing debris from the pool helps maintain peak suction, so your cleaner can efficiently pick up dirt and debris without getting bogged down or losing suction power.
Conclusion
By following these troubleshooting steps, you’ll master your pool cleaner like a pro and keep your pool sparkling like a gemstone. Don’t let a stubborn cleaner turn your swim into a battle—think of yourself as the ultimate pool hero! With patience and a keen eye, you’ll conquer any suction issues faster than you can say “crystal-clear water.” Keep at it, and enjoy your flawless, perfectly clean pool every time!