
To replace parts on your suction pool cleaner, start by inspecting components like hoses, brushes, the impeller, and drive belt for damage or wear. Gather necessary tools such as screwdrivers and pliers, then turn off the pump and remove the cleaner from the water. Carefully disconnect and replace worn or damaged parts, ensuring proper fit and alignment. For detailed step-by-step guidance on each replacement process, continue exploring the essential tips to keep your cleaner running smoothly.
Key Takeaways
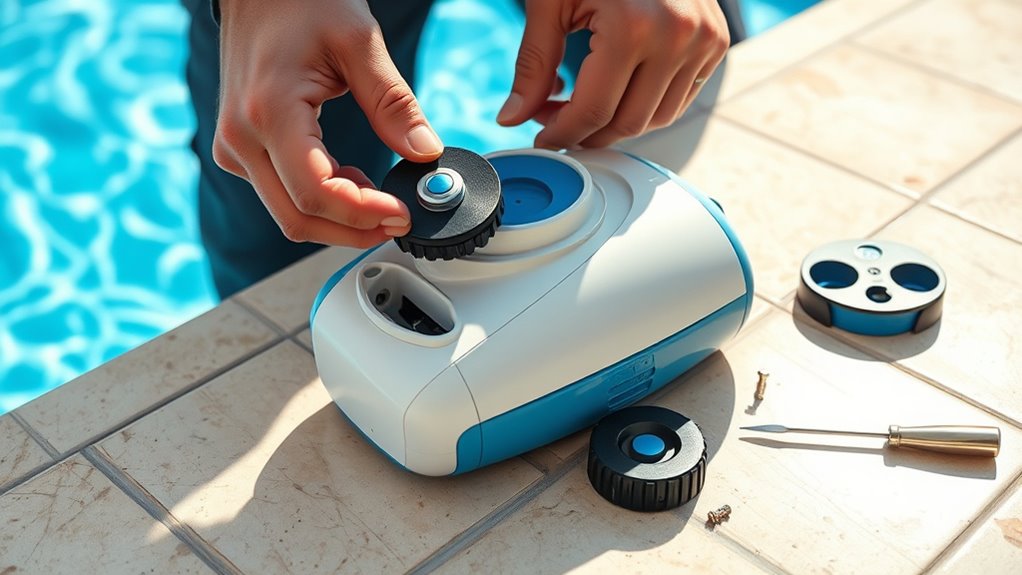
- Turn off the pool pump and remove the cleaner from the water before starting any replacement work.
- Carefully disconnect hoses, fittings, or damaged components, ensuring proper handling to prevent further damage.
- Inspect and replace worn or damaged parts such as brushes, impellers, or seals following model-specific instructions.
- Use appropriate tools like screwdrivers and pliers, and verify connections are secure and leak-free after reassembly.
- Regularly check and adjust drive belts and tracks during replacement to maintain proper tension and smooth operation.
Identifying Wear and Damage in Your Pool Cleaner
To keep your suction pool cleaner working efficiently, you need to regularly check for signs of wear and damage. Poor pool chemistry can cause buildup or corrosion, affecting the cleaner’s parts and water filtration. Inspect the hoses, brushes, and seals for cracks, tears, or other signs of deterioration. Damaged components may reduce suction power or cause leaks, hindering water circulation. Keep an eye on how well your cleaner adheres to the pool surface; if it’s not picking up debris as effectively, parts might be worn out. Regularly evaluating these signs helps you catch problems early, preventing further damage and ensuring your water filtration system continues to work properly. Proper maintenance saves you time and money in the long run. Additionally, understanding the importance of contrast ratio can help you select the right projector for optimal viewing experiences in your home theater setup. Moreover, being aware of AI vulnerabilities, such as potential biases or security risks, underscores the importance of regular maintenance and careful inspection of your pool cleaner components. For example, residential requirements can influence how often you should perform maintenance on your pool equipment to stay compliant with local regulations. Regularly cleaning and replacing worn parts can also prevent component failure, ensuring your cleaner operates at peak performance. Paying attention to wear patterns and how they develop over time can help you anticipate when replacements are needed before issues become severe.
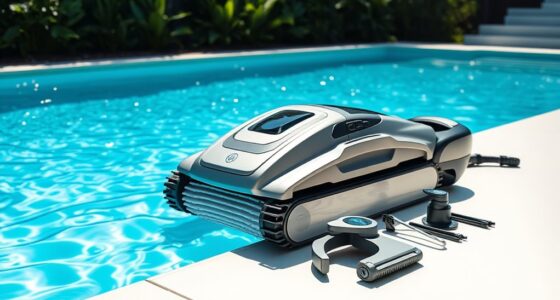
Tools You’ll Need for Part Replacement
Having the right tools on hand makes replacing parts on your suction pool cleaner straightforward and efficient. You’ll need basic tools like screwdrivers, pliers, and a utility knife. Additionally, consider safety equipment requirements such as gloves and goggles to protect against chemical exposure and mechanical injury. Being aware of pool chemical compatibility guarantees you don’t damage parts during handling or cleaning. Here’s a quick overview:
| Tool | Purpose |
|---|---|
| Screwdrivers | Remove and install screws in the cleaner |
| Pliers | Grip and disconnect hoses or fittings |
| Utility Knife | Cut old seals or hoses |
| Safety Gear | Protect against chemical splashes and debris |
Having these tools ready ensures a smooth replacement process while maintaining safety and pool chemical compatibility. Properly handling these tools and understanding their specific functions can prevent damage to your pool equipment. Being familiar with pool chemical compatibility is essential to avoid corrosion or degradation of replacement parts. Additionally, understanding the maintenance requirements of your pool cleaner can prolong its lifespan.
Replacing the Hose and Connections
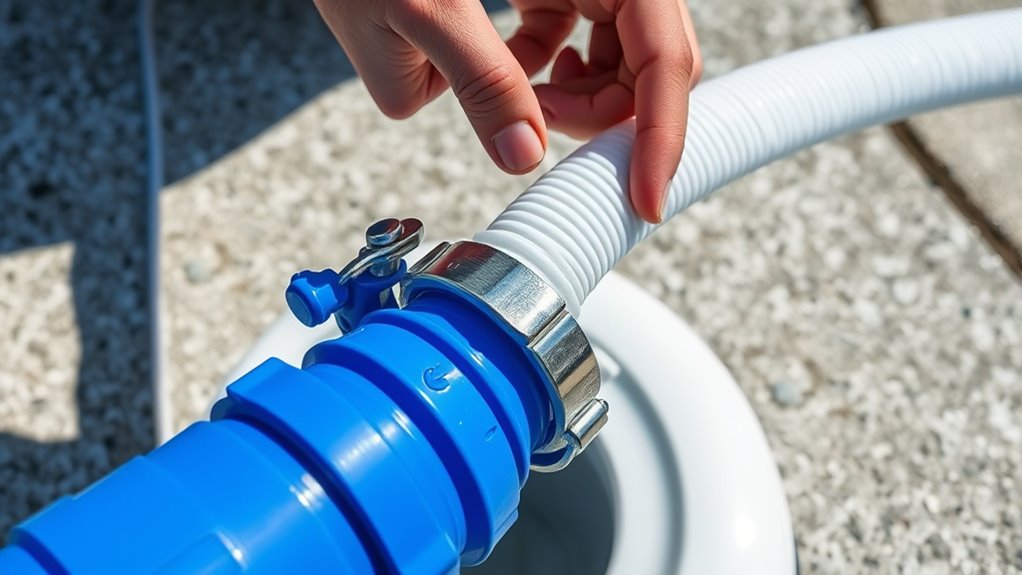
When replacing the hose and connections on your suction pool cleaner, start by turning off the pool’s pump and ensuring the cleaner is out of the water to prevent water flow and pressure buildup. Inspect the hose connections carefully, checking for cracks or wear that could cause leaks. Remove the old hose by disconnecting the connector fittings gently, avoiding damage to the fittings or the cleaner itself. Attach the new hose by securing the connector fittings tightly, ensuring they fit snugly to prevent leaks. Make sure the hose connections are properly aligned and sealed. Once connected, turn the pump back on and observe the connections for any signs of water escaping. Properly fitting hose connections are essential for effective cleaning and ideal suction performance. Additionally, verifying the efficiency of your system can help maintain optimal operation and prolong the lifespan of your pool cleaner. Regularly inspecting and maintaining your connections can also prevent costly repairs down the line, especially since filter maintenance plays a vital role in keeping the system running smoothly.
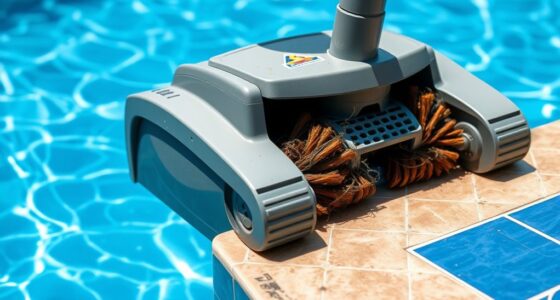
Swapping Out the Brushes and Baskets
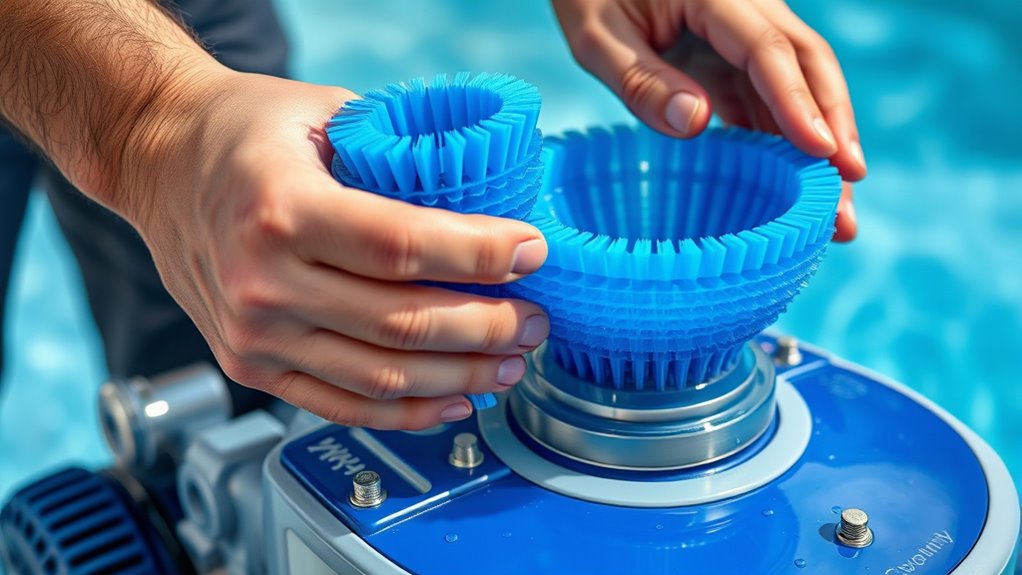
After securing the hose connections and ensuring your pool cleaner is functioning properly, it’s time to swap out the brushes and baskets. Regularly replacing worn brushes keeps your cleaner effective, especially as pool chemistry fluctuates seasonally, affecting debris buildup. Remove the brushes carefully, checking for wear or damage, and install new ones according to your model’s instructions. Empty the basket completely and rinse it to prevent clogs. When preparing for seasonal storage, clean and dry the brushes and baskets thoroughly to prevent mold or deterioration. Proper maintenance guarantees peak performance when you restart your pool cleaning routine. Swapping out these parts regularly keeps your cleaner working efficiently, saves energy, and extends its lifespan, especially during periods of heavy use or seasonal change. Durability and safety are essential factors to consider when maintaining pool cleaning equipment, and selecting high-quality replacement parts can further enhance cleaning efficiency. Regular inspection and replacement of parts also help in maintaining digital literacy to ensure safe and effective operation of your pool cleaner. Additionally, understanding the parts compatibility ensures that replacements fit properly and perform optimally, which is crucial for performance optimization and longevity.
Repairing or Replacing the Motor Assembly
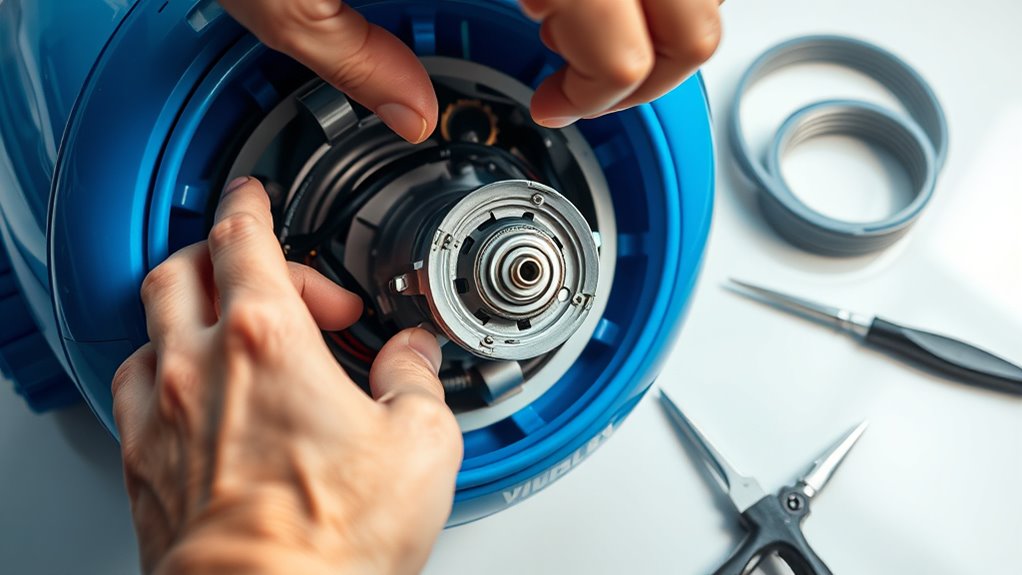
If your pool cleaner isn’t moving or cleaning effectively, the motor assembly might need repairs or replacement. Start by unplugging the cleaner and inspecting the motor assembly for signs of damage or corrosion. Check the electrical connections to verify they’re secure and free of corrosion or wear. If the motor isn’t running despite proper electrical connections, you may need to replace the entire motor assembly. Disconnect the wiring carefully, noting how the connections are made, then remove the mounting screws. Installing a new motor assembly involves reversing this process, verifying all electrical connections are tight and correct. Properly functioning electrical connections are vital for reliable operation. Additionally, ensuring the electrical connections are free of corrosion can extend the lifespan of your pool cleaner’s motor. Regularly monitoring electrical components can help prevent unexpected failures and maintain optimal performance. Recognizing signs of wear or damage early can help you perform timely maintenance, preventing costly repairs. If you’re unsure about handling electrical components, consider consulting a professional to avoid safety risks.
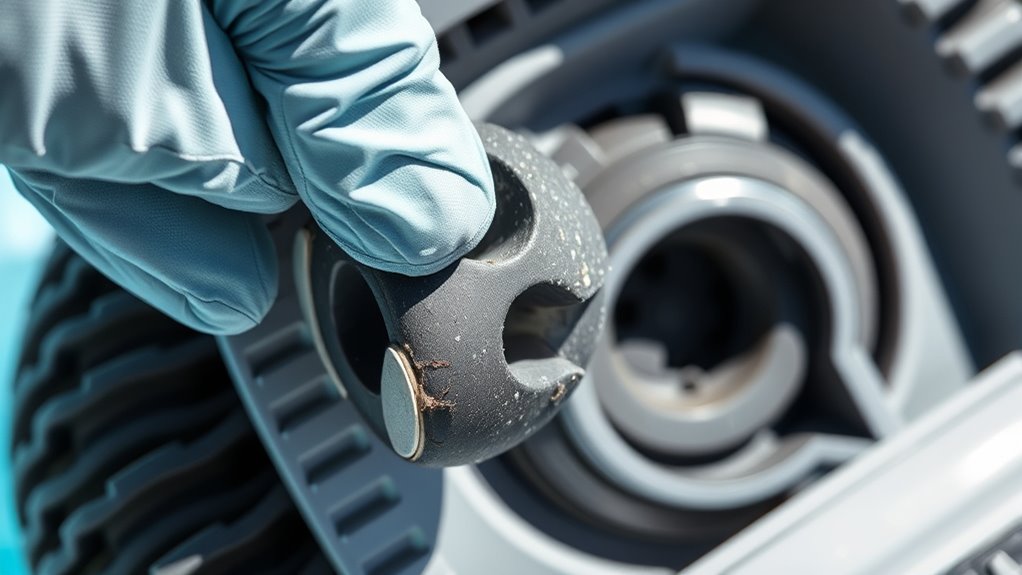
Troubleshooting and Replacing the Impeller
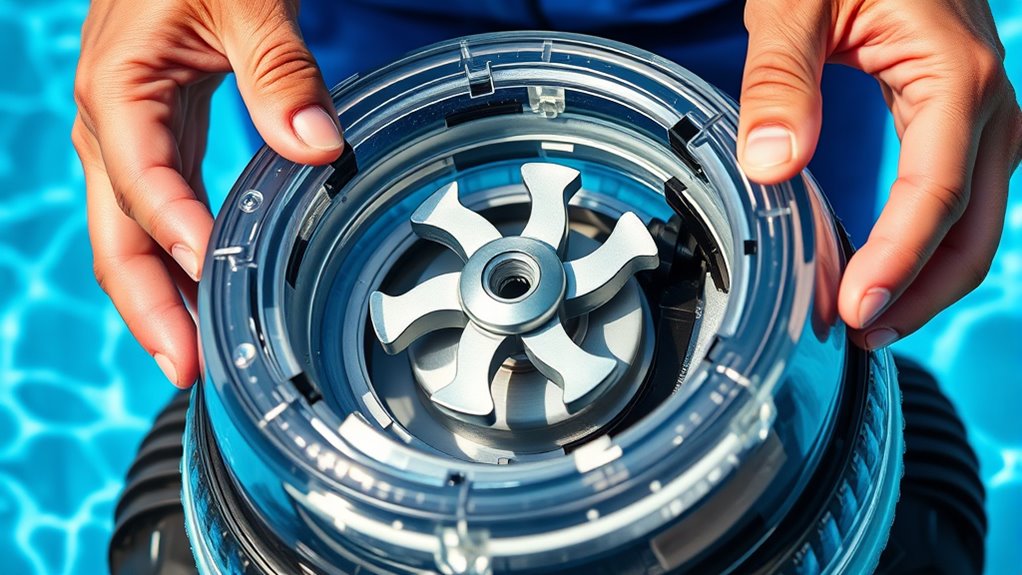
A malfunctioning impeller can considerably reduce your pool cleaner’s efficiency, so troubleshooting it promptly is essential. Begin by inspecting the impeller carefully for debris, damage, or wear. During impeller inspection, look for cracks, broken blades, or obstructions that may hinder water flow. If you notice significant damage or if cleaning doesn’t restore proper function, impeller replacement is necessary. To replace the impeller, disconnect the cleaner from power, remove the housing, and carefully extract the damaged part. Install the new impeller, ensuring it’s seated correctly and rotates freely. Once replaced, reassemble the housing and test your pool cleaner. Proper impeller inspection and replacement keep your cleaner running smoothly, maintaining ideal suction and cleaning performance.
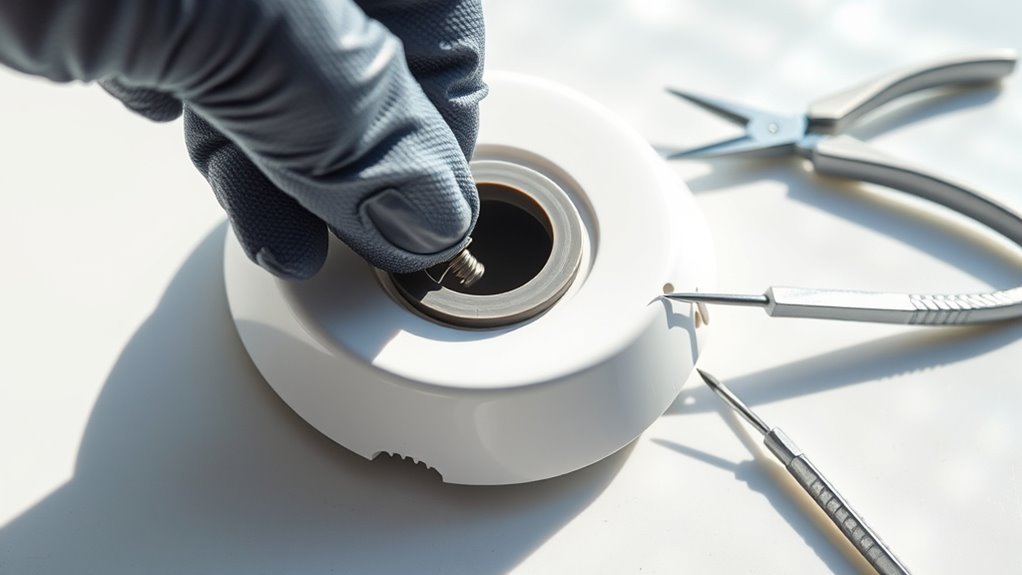
Checking and Replacing the Vacuum Plate

Inspecting the vacuum plate is a key step in maintaining your pool cleaner’s performance. The vacuum plate helps direct water flow and optimize suction. To check it, turn off your pool cleaner and remove it from the pool. Carefully detach the cover to access the vacuum plate. Examine it for cracks, warping, or debris buildup that could affect suction power. If the plate is damaged or worn out, replacing it is essential to restore proper operation. Ensure the new vacuum plate fits securely and aligns correctly with your pool cleaner’s body. Proper installation prevents leaks and maximizes cleaning efficiency. Regularly checking and replacing the vacuum plate keeps your pool cleaner functioning smoothly, extending its lifespan and ensuring your pool stays clean.
Maintaining and Replacing the Drive Belt or Track System
You need to regularly check your drive belt for signs of wear to prevent breakdowns. If the track system isn’t moving smoothly, it’s time to substitute it properly to avoid damage. Keeping these parts in good condition ensures your cleaner runs efficiently.
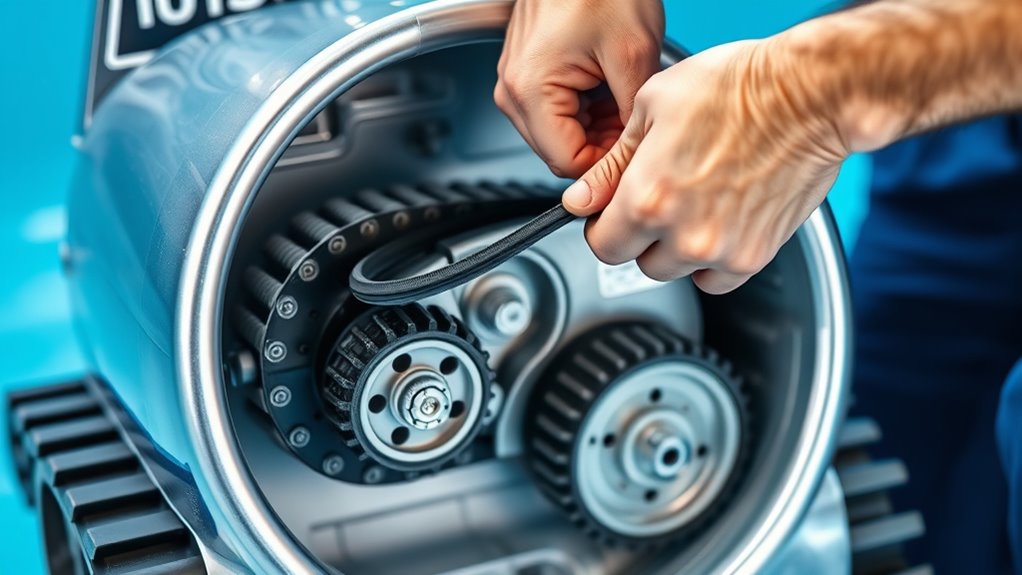
Inspecting Drive Belt Wear
Regularly checking the drive belt for signs of wear is essential to keep your suction pool cleaner operating smoothly. Look for cracks, fraying, or thinning that indicate reduced drive belt durability. If the belt appears worn, it may slip or fail to transfer power properly. Also, ensure the belt tension adjustment is correct; a loose belt can cause slippage, while too tight can strain components. Use the following table to assess your belt’s condition:
| Wear Signs | Tension Adjustment | Recommended Action |
|---|---|---|
| Cracks or fraying | Belt feels loose or tight | Replace belt or adjust tension |
| Thinning or glazing | Belt slips during operation | Readjust tension or replace belt |
| Loss of grip | Belt slips or stalls | Check tension, replace if needed |
| Visible damage | Belt is cracked or broken | Replace immediately |
| Uneven wear | Belt appears uneven | Inspect for alignment issues |
Proper inspection guarantees longevity and ideal performance.
Replacing Track System Properly
To guarantee your suction pool cleaner functions effectively, replacing the track system or drive belt correctly is essential. Begin by checking the track tension; it should be firm but not overly tight. Proper track tension prevents slipping and ensures smooth movement. Next, focus on track alignment—make sure the tracks are straight and properly seated on the rollers and wheels. Misaligned tracks can cause uneven wear or jamming. When replacing the track system, remove the old tracks carefully, then position the new ones, ensuring they’re aligned properly. Adjust the tension if necessary, testing the cleaner’s movement before submerging it back in the pool. Correct installation and alignment optimize performance and extend the lifespan of your cleaner.
Regular Maintenance Tips to Extend Part Lifespan

Maintaining your suction pool cleaner’s parts regularly can considerably extend their lifespan and keep your device operating efficiently. Start by checking the pool’s chemical balance; imbalanced chemicals can cause parts to degrade faster. During seasonal maintenance, clean filters, brushes, and the track system thoroughly to remove debris and buildup. Regularly inspect hoses and connections for cracks or leaks, replacing them as needed. Keep the water’s pH levels within the recommended range to prevent corrosion and mineral buildup. Storing the cleaner properly during off-season months also helps prevent unnecessary wear. By staying on top of these maintenance tasks, you reduce the risk of premature part failure, ensuring your suction pool cleaner continues to operate smoothly and effectively for years to come.
Frequently Asked Questions
How Often Should I Replace Parts on My Suction Pool Cleaner?
You wonder how often you should replace parts on your suction pool cleaner. Following a maintenance schedule helps guarantee it runs smoothly. Typically, check the brushes, filters, and hoses every few months, and substitute them when they show signs of wear or damage. Replacement frequency varies based on usage, but regular inspections prevent breakdowns and keep your cleaner performing efficiently. Staying on top of maintenance saves you time and money.
Can I Replace Parts Myself or Should I Hire a Professional?
You can definitely do a DIY repair on your suction pool cleaner if you’re comfortable with basic tools and instructions. However, for complex issues or if you’re unsure, it’s best to opt for professional servicing. While DIY repairs save money and time, hiring a professional ensures proper installation and safety. Assess your skills first, and don’t hesitate to seek expert help when needed to keep your pool cleaner functioning perfectly.
Are There Compatible Replacement Parts for Different Pool Cleaner Brands?
You might wonder if there are compatible replacement parts for different pool cleaner brands. The good news is, brand compatibility and part availability vary; some brands offer universal parts, while others require specific components. To guarantee proper fit and function, check the manufacturer’s recommendations or consult with a pool supply specialist. This way, you can find the right parts without hassle, saving time and avoiding potential damage to your cleaner.
How Do I Dispose of Old or Damaged Pool Cleaner Parts Safely?
When disposing of old or damaged pool cleaner parts, you should prioritize eco-friendly options. Check if your local recycling center accepts pool cleaner components through pool cleaner recycling programs. If not, follow safe disposal methods by avoiding dumping parts in regular trash or water sources, which can harm the environment. Always clean parts thoroughly and remove any hazardous materials before recycling or disposal to guarantee safety and environmental responsibility.
What Are Signs That a Part Needs Immediate Replacement Beyond Visual Damage?
You’ll notice signs that a part needs immediate replacement if your pool cleaner shows sensor malfunction or decreased suction. Sensor issues can cause the cleaner to behave erratically or stop working, while decreased suction indicates a blockage or worn-out part. If these problems persist despite cleaning or troubleshooting, it’s time to substitute the affected part. Acting promptly ensures your cleaner operates efficiently and avoids further damage.
Conclusion
So, after all that, you’d think your pool cleaner might last forever, right? Sadly, even the toughest parts give up eventually. But hey, at least you get a chance to channel your inner mechanic and prolong its life—until the next part wears out. Just remember, with a little effort, you can keep your cleaner running smoothly. Who knew fixing pool equipment could feel so satisfying, or at least less frustrating?