
To install a pressure-side pool cleaner, start by gathering your parts and tools. Connect the hose to the cleaner and attach it securely to your skimmer or return line. Adjust the hose length and float components to guarantee proper movement and coverage. Prime the system by filling the hose with water and turning on the pump. Once everything is connected and functioning smoothly, you can fine-tune for ideal cleaning performance—more tips ahead to help you perfect the setup.
Key Takeaways
- Gather all parts, hoses, adapters, and tools, and ensure pool water chemistry is balanced before installation.
- Connect the hose sections securely, avoiding twists or kinks, and attach to the skimmer or dedicated cleaner port.
- Prime the hose by filling it with water and ensure it floats freely with proper buoyancy and evenly spaced floats.
- Turn on the pool pump and verify water flow, checking for air bubbles or sputtering, then reconnect the hose to the cleaner.
- Test cleaner movement, adjust water flow or hose positioning as needed, and perform routine maintenance for optimal performance.
Gather the Necessary Tools and Equipment
Before you begin installing your pressure-side pool cleaner, it’s vital to gather all the necessary tools and equipment. Start by collecting your pool cleaner parts, hoses, and any adapters needed for your specific model. You’ll also need basic tools like screwdrivers and pliers. Remember to check the pool’s chemical levels and make sure they’re balanced; this promotes safety and helps prevent equipment damage. Safety precautions are essential—wear gloves and eye protection during installation, especially when handling pool chemicals or working near the water. Keep a waterproof container nearby for small parts and tools. Proper preparation ensures a smooth setup process and minimizes risks, making your pool cleaning more efficient and safe from the start. Incorporating AI-powered virtual reality in e-learning can help you understand complex installation steps more interactively if you encounter difficulties. Additionally, understanding climate control principles can be useful if your local weather affects your pool maintenance routines. Understanding proper equipment handling is also crucial to avoid damage and ensure longevity of your pool cleaner. Moreover, staying informed about emerging AI technologies can provide insights into innovative solutions for pool maintenance and safety enhancements. Regularly reviewing product manuals can further ensure correct assembly and troubleshooting.
Position the Pool Cleaner and Connect the Hose
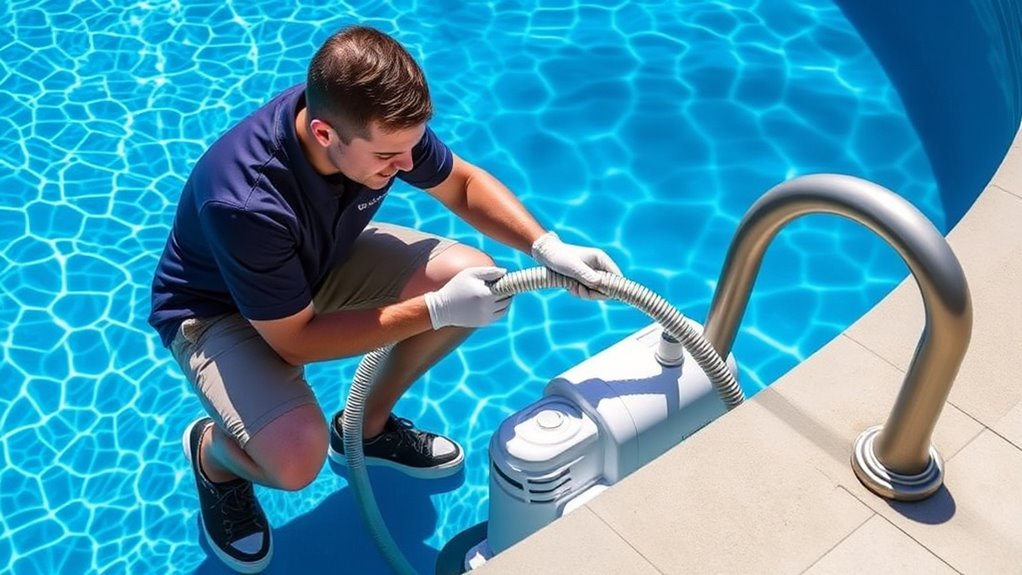
Start by placing the cleaner in a strategic spot where it can cover the entire pool efficiently. Make sure the hose is securely connected to both the cleaner and your skimmer or dedicated port. Double-check that the connections are tight so the cleaner can operate without leaks or disconnections.
Position the Cleaner Properly
Positioning the pool cleaner correctly is essential for effective operation. Before starting, ensure your pool’s chemical balance is ideal, as imbalanced water can hinder cleaning performance. During seasonal maintenance, double-check that the surface is free of debris to prevent obstructions. Place the cleaner in a strategic spot, typically near a return jet, to help it cover the entire pool efficiently. Make sure it’s floating freely without tangling or hitting any obstructions. Proper placement allows the cleaner to navigate smoothly and clean all areas thoroughly. Additionally, understanding essential oils for pool health can help maintain water quality and prevent issues that may interfere with cleaning. Regularly inspecting the filter system ensures optimal debris removal and prolongs the cleaner’s lifespan. Maintaining proper installation techniques is also vital for ensuring the pressure-side cleaner functions effectively and safely. Keeping the pool’s water chemistry balanced also supports the pressure-side cleaner’s performance and longevity. Being aware of fire safety regulations can further enhance the overall safety of your pool area and prevent accidents. Taking these steps ensures your pressure-side cleaner works at its best, saving you time and effort during routine seasonal maintenance.
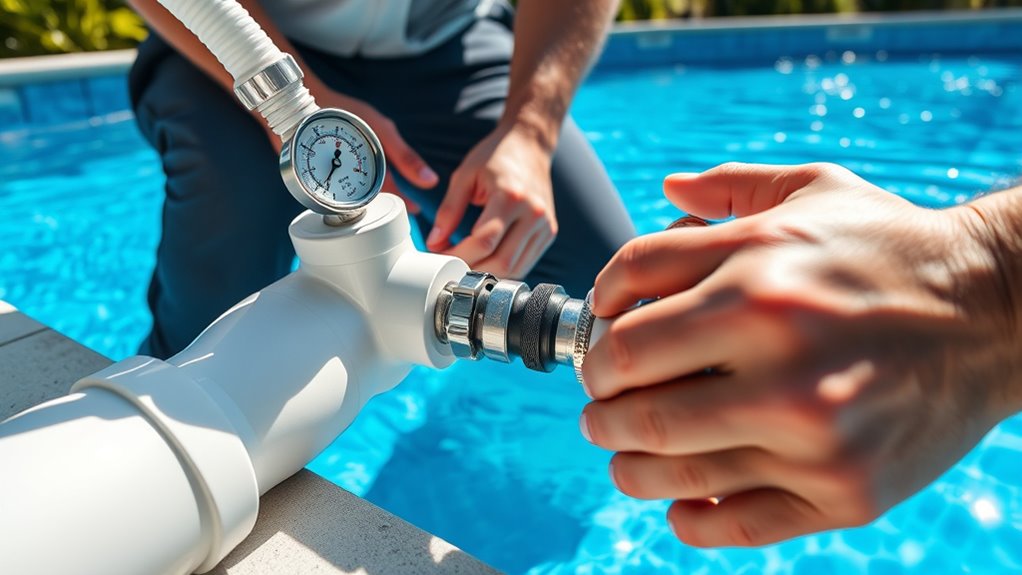
Secure and Connect Hose
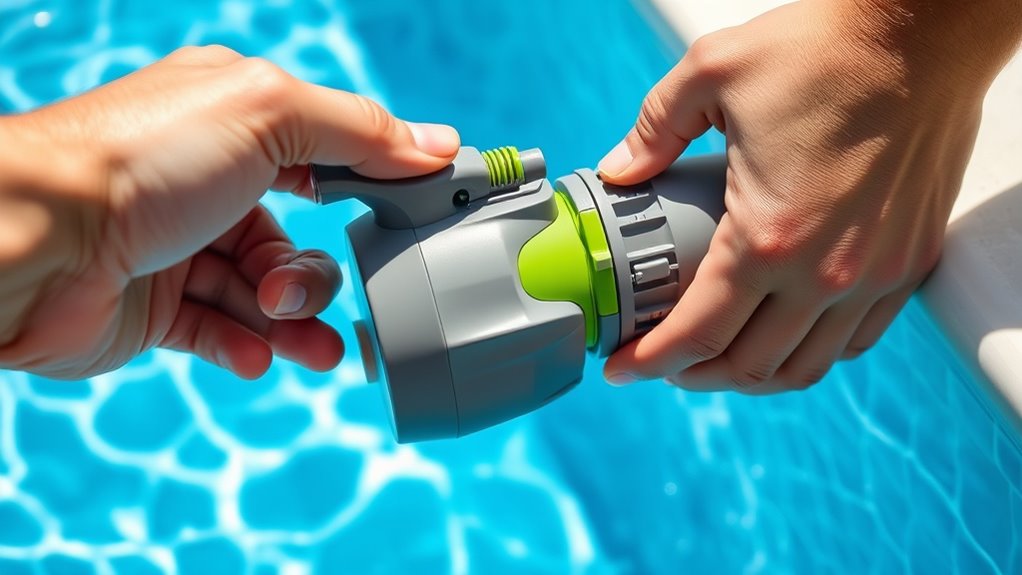
To guarantee your pressure-side pool cleaner operates effectively, you need to secure and connect the hose properly. Start by selecting the right hose material—durable rubber or vinyl—to withstand pool chemicals and sunlight. When connecting, choose the correct connection types, such as threaded or quick-connect fittings, to ensure a secure fit. As you attach the hose, picture these steps:
- Flexible hose material bending easily without kinking
- Snug connection types locking firmly into the cleaner and skimmer port
- Hose sections aligned smoothly, avoiding twists
- Hose length adjusted to reach all pool areas comfortably
Additionally, choosing the right hose material can improve durability and performance during cleaning. Using hoses with corrosion-resistant fittings can further enhance longevity and ease of use. A secure connection prevents leaks and maintains consistent suction, making cleaning more efficient. Properly connected hoses also reduce the risk of detachment during operation, and selecting hoses with high-quality fittings can further improve durability and ease of use. Ensuring the hose connections are securely fastened minimizes the chance of disconnections during cleaning cycles.
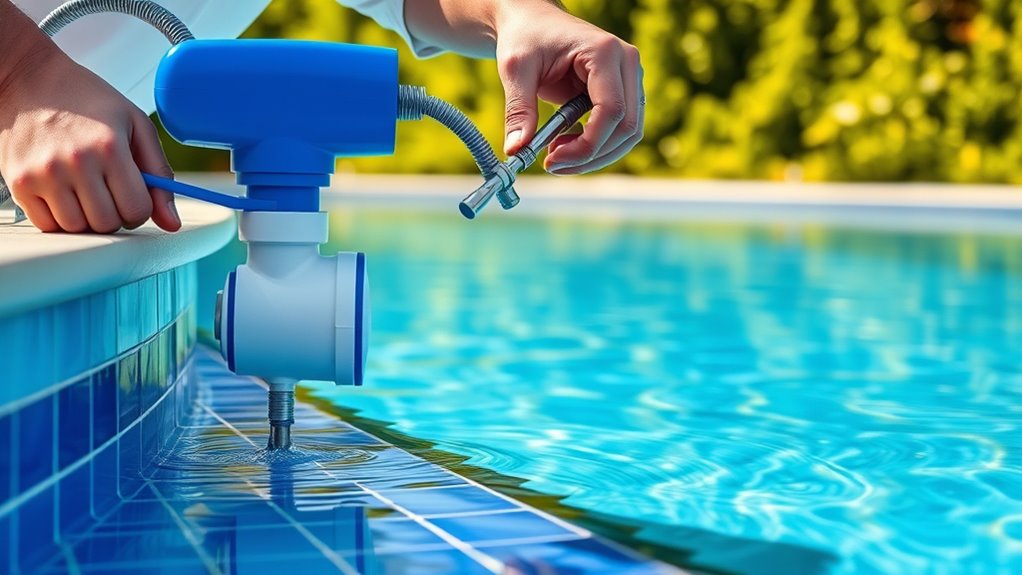
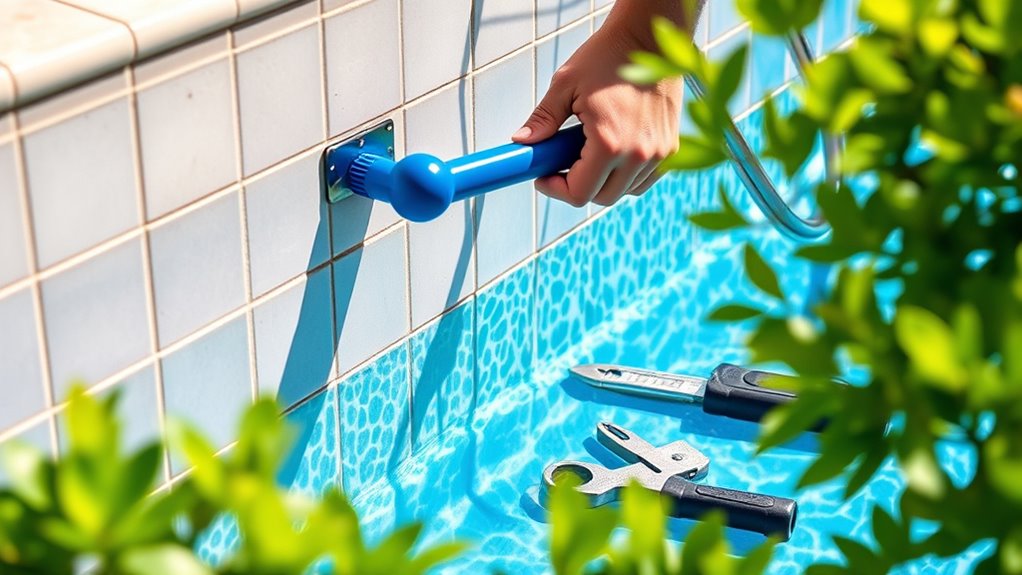
Attach the Hose to the Skimmer or Return Line
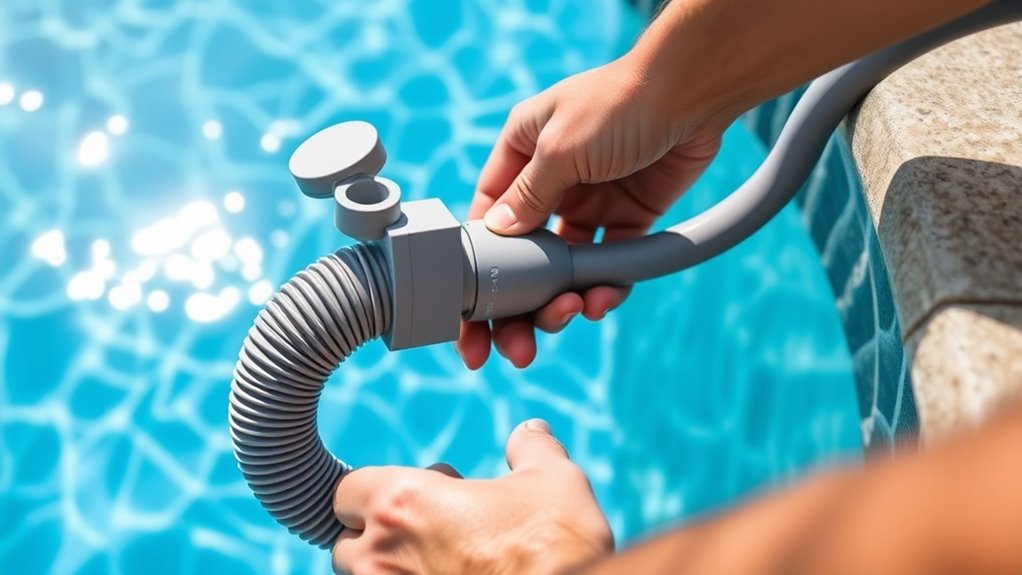
You need to attach the hose securely to the skimmer or return line to guarantee proper operation. Make sure the connection fits tightly to prevent leaks or disconnections during cleaning. Double-check that everything is secure before turning on the pump. Ensuring your security system in place can also provide added peace of mind during pool maintenance. Additionally, verifying that your smart pool technology is compatible with your cleaning system can optimize efficiency and monitoring. Opting for a reliable security system can help detect any potential issues early while you focus on your pool. Being aware of AI’s role in societal transformations can help you anticipate future technological changes that might influence smart pool management and security features. Keeping up with technological advancements can further enhance your pool’s safety and automation capabilities.
Proper Connection Procedures
Have you confirmed the hose connection to the skimmer or return line is secure? Proper connection ensures your pool cleaner functions effectively and maintains safe pool chemistry. Before starting, double-check that the hose is firmly attached, preventing leaks or disconnections during operation. Visualize the connection points as you:
- Feel the snug fit where the hose meets the skimmer or return line
- Confirm clamps are tight, avoiding leaks
- Ensure no kinks or twists in the hose that could restrict flow
- Picture the flow of water smoothly moving through the hose, aiding in cleaner efficiency
- Remember that proper connection procedures are essential for automation in business to improve operational efficiency and safety.
Securing connections properly also minimizes safety risks by preventing accidental disconnections. Remember, always follow safety precautions when working around pool equipment. Properly attached hoses help maintain consistent water flow and keep your pool clean.
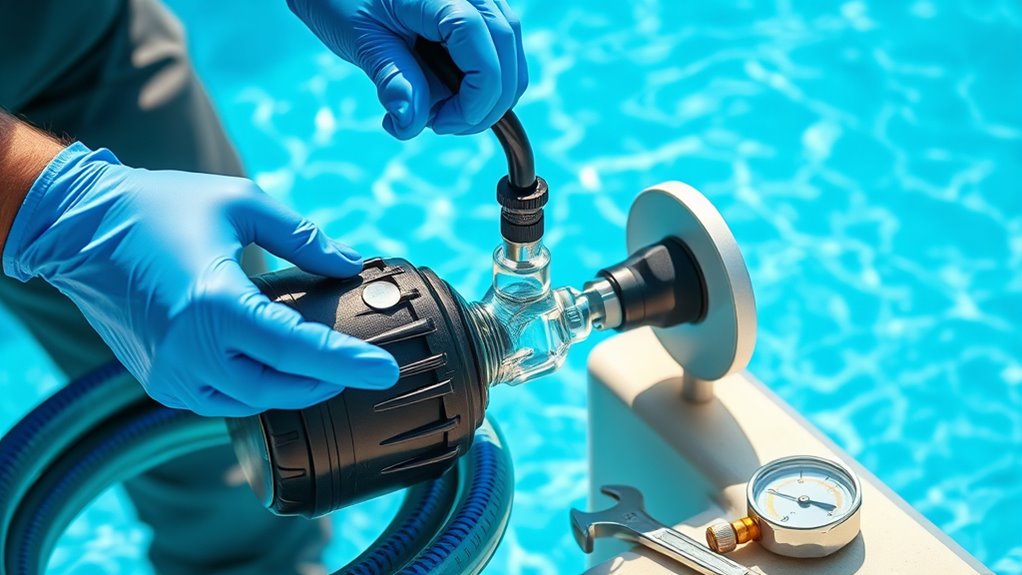
Ensuring Secure Fit
Ensuring a secure fit when attaching the hose to the skimmer or return line is essential for effective pool cleaning. Start by carefully securing the hose connections, making sure they are firmly attached to prevent leaks or disconnections during operation. Conduct a fitting inspection to confirm that all connections are tight and properly seated. Check for any signs of wear, cracks, or loose fittings that could compromise performance. If the hose feels loose, tighten the fittings until they’re snug but not overly forced. A secure hose guarantees proper water flow and peak cleaning. Taking the time to verify the fittings and secure the hose reduces the risk of interruptions, making your pool cleaner work efficiently and effectively.
Adjust the Hose Length and Float Components
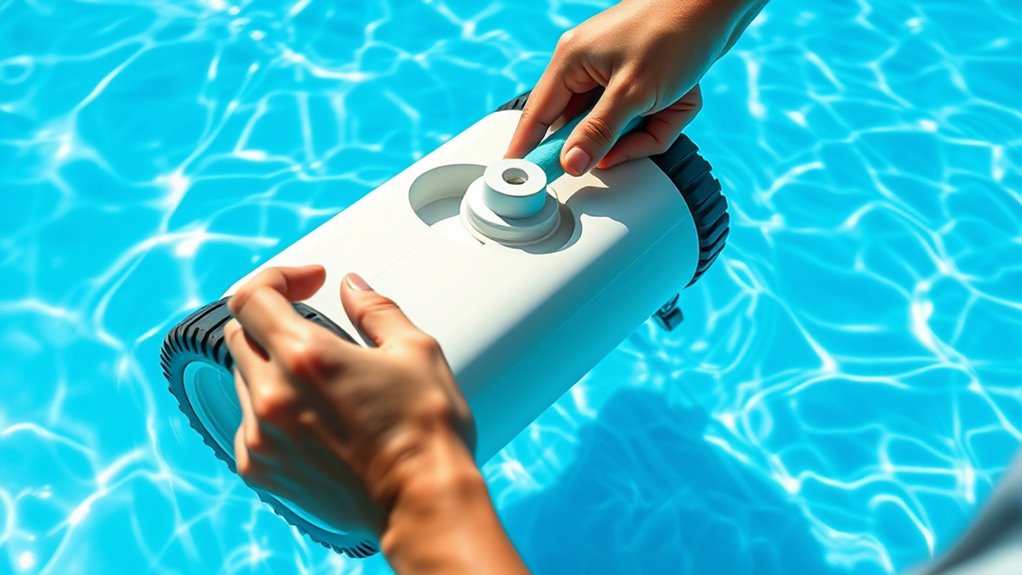
To guarantee your pressure-side pool cleaner operates effectively, start by adjusting the hose length and float components. Proper hose flexibility allows the cleaner to move smoothly around the pool, while correct float adjustment ensures it stays at the right depth. To do this, carefully extend or shorten the hose, checking for tension or slack. Keep these in mind:
- Hose should be long enough to reach all pool areas without sagging
- Float components should keep the hose buoyant and properly aligned
- Flexibility allows easy maneuvering around corners and steps
- Adjust floats to maintain consistent water flow and cleaning coverage
Visualize the hose floating freely, not dragging or bunching, and floats evenly spaced to prevent tangling. This setup ensures ideal movement and cleaning efficiency.
Prime the System to Ensure Proper Water Flow
Before operating your pressure-side pool cleaner, you need to prime the system to establish proper water flow. System priming assures water moves freely through the hose and cleaner, preventing airlocks that can hinder performance. To prime the system, turn on your pool pump and observe the flow. If air bubbles or sputtering occur, disconnect the cleaner hose and submerge it in water to fill it completely. Reconnect the hose to the skimmer or dedicated suction port, then turn the pump back on. Allow water to flow through the entire system until no more air escapes. Proper priming guarantees consistent water flow, which is essential for your pressure-side cleaner to operate efficiently and effectively.
Test the Cleaner and Make Adjustments as Needed
Once you’ve completed priming the system, turn on your pool pump and observe how the cleaner operates. Check whether it covers the entire pool surface evenly or gets stuck in one spot. You may need to adjust for proper cleaner calibration and water flow adjustment. Look for signs like:
- The cleaner moving smoothly across all pool surfaces
- It staying stuck or missing areas
- Water pressure variations affecting movement
- Excessive noise or jerky motions
If the cleaner isn’t operating correctly, tweak the water flow rate or reposition the hoses to optimize movement. Ensure the vacuum’s path is clear and the hoses aren’t kinked. Making these adjustments helps your cleaner do its job efficiently, saving time and effort during pool maintenance.
Regular Maintenance and Troubleshooting Tips
Regular maintenance is essential to keep your pressure-side pool cleaner functioning effectively. Regularly check and clean the filter to ensure maximum debris removal and prevent clogs that can hinder performance. Make filter maintenance a weekly habit, especially during heavy use. If you notice the cleaner isn’t moving smoothly or missing spots, troubleshoot common issues such as tangled hoses or blocked jets. Inspect the hose for kinks or obstructions and ensure the skimmer basket is clean. Adjust the cleaner’s settings if necessary to improve coverage. Regularly inspecting and maintaining your equipment minimizes breakdowns and extends its lifespan. By staying proactive with filter maintenance and troubleshooting common issues, you’ll keep your pool cleaner running efficiently and enjoy a cleaner pool all season long.
Frequently Asked Questions
How Often Should I Clean or Replace the Pool Cleaner’S Brushes and Filters?
You should clean your pool cleaner’s brushes regularly, ideally once a month, to guarantee peak performance. During brush maintenance, inspect for wear or damage and replace brushes if needed. Filter replacement depends on usage and debris; typically, change filters every 4 to 6 weeks or when they become clogged. Regular maintenance keeps your cleaner working efficiently, prolongs its lifespan, and maintains clean, clear pool water.
What Are Common Signs My Pressure-Side Cleaner Is Malfunctioning?
If your pressure-side pool cleaner isn’t working properly, you might notice issues like inconsistent cleaning or poor movement. Check the pressure sensor, as a faulty one can cause malfunctioning. Also, look for hose leaks, which reduce suction power and impede performance. These signs indicate your cleaner needs attention—either repair or maintenance—to guarantee it operates effectively and keeps your pool spotless.
Can I Use the Pool Cleaner During Pool Maintenance or Chemical Treatments?
Did you know that over 80% of pool owners use their cleaners during chemical treatments? You can typically use your pressure-side cleaner during pool maintenance, but check the pool chemical compatibility first. Wait at least 15 minutes after adding chemicals before running the cleaner. For best results, follow cleaner installation tips, ensuring hoses are secure and filters are clean. This helps prevent damage and keeps your pool sparkling.
How Do I Troubleshoot if the Cleaner Is Not Moving or Covering the Entire Pool?
If your pool cleaner isn’t moving or covering the entire pool, start troubleshooting by checking for obstructions or tangled hoses that may hinder cleaner movement. Make sure the pressure line is properly connected and adjusted for peak flow. Make sure the cleaner is weighted correctly and that the intakes are free of debris. Adjust the cleaner’s path or angle if needed, so it covers the pool effectively and improves overall pool coverage.
Are There Safety Precautions for Installing or Maintaining the Pool Cleaner?
Think of installing your pool cleaner like steering a ship’s deck—you must be cautious. Always prioritize electrical safety by turning off power before starting, and handle chemicals carefully to prevent hazards. Use insulated tools, keep the area dry, and follow manufacturer instructions. These precautions guarantee safe installation and maintenance, helping you avoid accidents and keep your pool clean and safe for everyone.
Conclusion
Once you get your pressure-side pool cleaner running smoothly, it’s like tuning a fine instrument—you’ll enjoy sparkling water with less effort. I remember a friend who struggled for hours, only to find a loose hose connection. After fixing it, her pool gleamed perfectly. Regular maintenance keeps your cleaner humming like that well-tuned instrument, saving you time and frustration. With patience and care, your pool will stay pristine, turning cleaning into a simple, satisfying routine.